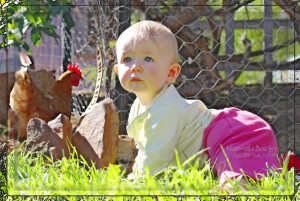
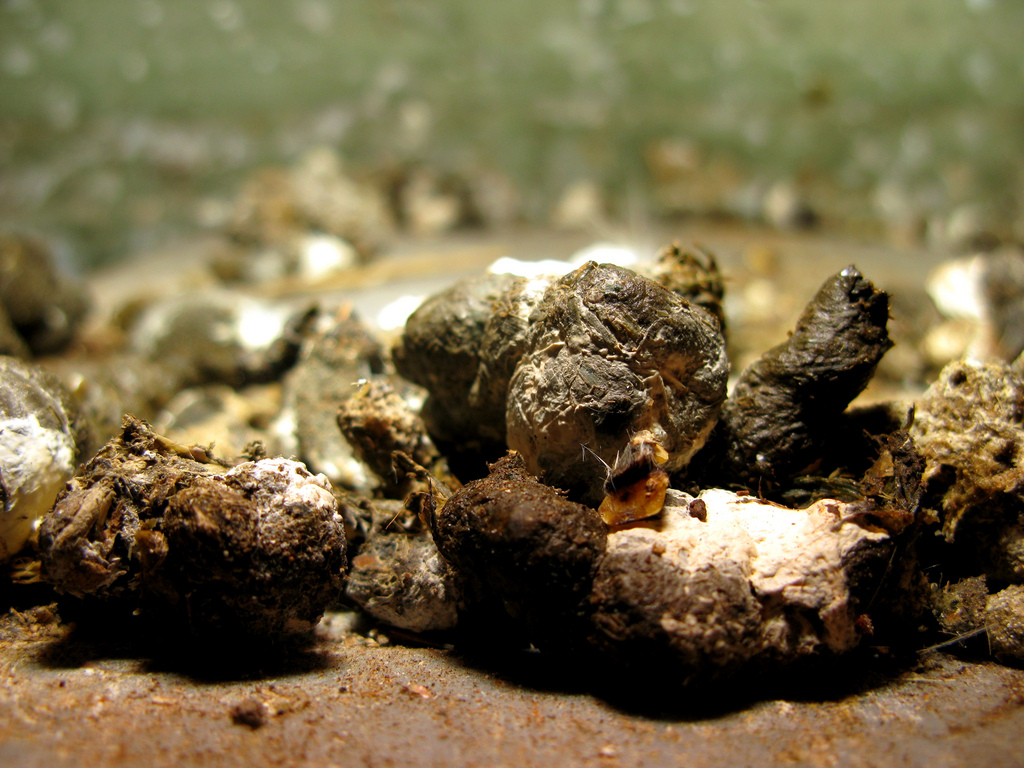
Could backyard chicken droppings stunt children’s growth?

Share Button

In a study recbackyard chicken zone - infant crawling with chickensently published (6 November 2015) in Maternal and Child Nutrition , Mduduzi Mbuya and Jean Humphrey of Johns Hopkins University identified a potential link between chicken droppings and the stunting of infant growth.

According to the study, in 2011, one in every four (26%) children under 5 years of age worldwide was stunted.  The researchers suspect that in places like Zimbabwe where chickens roam freely and the ground is therefore covered in droppings, that infants ingest unfriendly microbes (by eating dirt which we have all seen young children do) contained in the chicken droppings that lead to stunted growth.

The study refers to other research that “found that two pertinent things happen when unfriendly microbes of the sort found in chicken droppings get into the intestine. One is a loss of villi, the finger-like projections from the gut wall that absorb nutrients. The other is a loosening of the joints between the cells that line the gut. This creates holes through which microbes of all sorts can pass into the bloodstream, where they stimulate the immune system. That diverts nutrients needed elsewhere. It also causes the production of chemicals called cytokines which, among other things, switch off the production of growth hormone.”

To support the potential link between chicken droppings and stunted growth in children research from the International Food Policy Research Institute, in Washington, DC by Derek Headey and Kalle Hirvonen found that in Ethiopia that households which kept poultry indoors had a significantly higher rate of child stunting than those that kept the birds outside.

Click here to get your FREE copy of our "Backyard Chicken Hygiene Guide"

Whilst the link between chicken droppings and stunted growth in children is yet to be proven the take away for backyard chicken and backyard poultry farmers is to keep on top of your flock hygiene including cleaning of the coops, chicken runs, and the household in general.  Try to keep shoes for the yard outside and supervise your children.

General flock hygiene should be part of your normal routine and if you keep your grounds and household clean then you probably don’t need to worry about the potential impacts of children ingesting chicken droppings.  Check out our chicken raising tips post on maintaining good hygiene around your flock.
Share Button

Incubating chicken eggs

Share Button

Hatching chicken eggs using artificial incubators is both an art and a science.  Whilst it is not difficult incubating chicken eggs there are a number of key principles that you need to adhere to.

The first thing you need to do is to source quality fertilized eggs for hatching your own backyard chickens.

Good quality eggs require that the hens are in good health, have a well balanced diet and managed so that each hen is regularly serviced by a fertile rooster.  The eggs should be clean fresh eggs that ideally have not been washed – washing can dramatically reduce the eggs viability be removing its protective bloom creating the potential for germs to infect the egg.

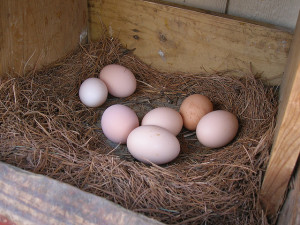
backyard chicken zone - chicken eggs in nesting box

Source your eggs from a reputable breeder who keeps the nest boxes clean and filled with fresh dry bedding to prevent soiled eggs, collects eggs frequently, and stores them correctly.

For the best results in hatching chicken eggs the eggs should have been stored at room temperature with their pointy end down, rotated daily, and ideally should be less than 7 days old.

If possible your should pickup up eggs directly from the farm gate, however if you get them through the mail you should keep them still for 12-24 hours to allow the air cells to settle prior to placing them in an incubator.

As temperature is the single most important factor for successful hatching you should try and locate your chicken egg incubator in a room that has a relatively steady temperature, not in direct sunlight and away from draughts.

Recommended incubator – click for details

Turn on your chicken egg incubator and allow it to run for at least 24 hours to make sure the temperature inside the incubator has stabilized.

Set your eggs up in the chicken egg incubator on their sides or pointy end down in accordance with the incubator manufacturers instructions.

(Quick note on hatching rates – no matter how good your chicken egg incubator you can never fully replace a brooding hen and hence some eggs simply won’t hatch.  The best rate you can expect is about 85%.  If you are using eggs that have been posted to you then the hatching rate can be much lower around the 50% mark.)

Incubating chicken eggs will take 21 days after whichever time you will have a bunch of hungry chicks to feed.

Successful hatching using an chicken egg incubator requires four key factors:
1.  Temperature

2.  Humidity

3.  Ventilation

4.  Turning

Temperature
Every chicken egg incubator model will have its own settings for temperature however it is a good idea to get an incubator thermometer rather than rely on the incubators factory thermometer.  If your eggs fail to hatch then temperature is the most likely cause.  As a guide your eggs are unlikely to survive several hours of temperatures above 103degF or under 96degF.

Humidity
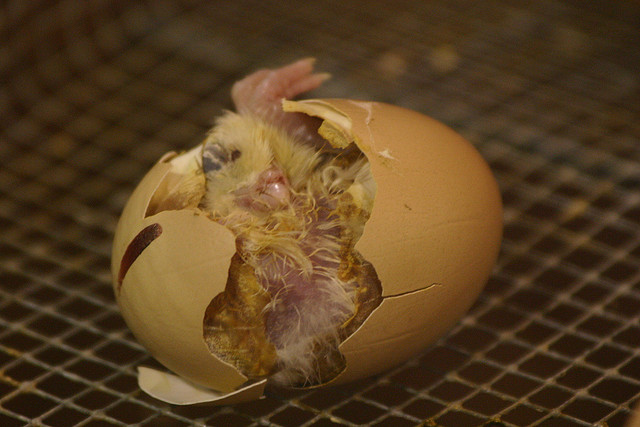
Humidity within the chicken egg incubatorbackyard chicken zone - chicken egg hatching affects how much moisture is lost from the eggs during incubation.  Fortunately most incubators create their own humidity through the use of water trays. (Tip – always use Luke warm water when you refill these water trays).  The ideal humidity for hatching your backyard chickens is around 50-55% for the first 18 days and 65-70% in the final three days before hatching.
Ventilation
The embryos inside the eggs need oxygen which they get via their shell from the air around them.  Therefore ensuring your incubator maintains good ventilation is important.

Turning
To be successful at incubating chicken eggs and hatching the chicken eggs, the eggs must be turned regularly for the first 17 days to prevent the embryos sticking to the shell.  Ideally they should be turned 2-3 times per day. (Tip – mark the shells with a pencil with an A and a B on opposite sides so you can easily see if you turned all the eggs.)

You stop turning the eggs in the last 3 days of incubation.

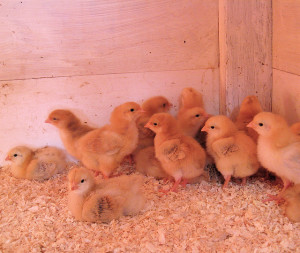
backyard chicken zone - baby chickens

Hatching your backyard chicken eggs
Soon the chicks will begin pipping – this is when they begin to peck through their shell. This can take up to 6 hours with a further 6 hours for the chicks to dry and “fluff up”.  Since they still have the reserves for the egg yolk to draw upon the chicks don’t need to eat or drink for the first 24 hours.

Once they are dry they can be moved to a brooder.  Check out our post on raising chicks to see what to do next.

Share Button

Raising Chicks

Share Button

Raising chicks is relatively simple and simply requires you to provide three key things for your chicks.
1. Warm clean housing
2. Plenty of food and water
3. Lots of love and attention.

About 24 hours after your chicks hatch or when they first arrive the first place they will call home is the brooder. The brooder is basically the equivalent of the nest in the case where the chicks are being cared for by a hen. It can be as simple as a box, enclosure or even a cat carry box.

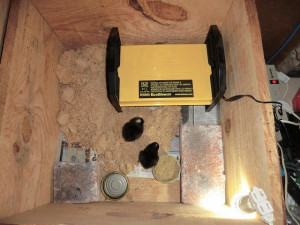
backyard chicken zone - brooder set up


The brooder should be lined with soft materials such as towels or blankets for the first few weeks (be careful of loose threads that small feet can get tangled in) and then changed for straw or pine shavings.  Do not use slippery surfaces such as newspaper to line the brooder as it can result in the chicks having malformed legs.

It is very important to keep the chicks warm as they will require temperatures between 95 and 100 deg F. This can be achieved by using a heat lamp or a purpose designed radiant brooder (our recommendation).

Radiant heater (recommended). Use 90% less energy. Click for details.

Heat lamps are a low cost option but they do come with some safety risks of burns and also risk of fire if located inappropriately hence why our recommendation is to use a radiant panel style of brooder similar to the Brinsea Ecoglow brooder panel shown in the photo above.  The heat source should be located down one end of the brooder to allow the chicks to move about and experience a range of temperatures.

Now that we have housing and warmth sorted we need to think about food and water.

You will need a good quality chick starter crumble (see our post on what to feed your chicken for more details) and something to feed them in such as a chick feeder or just a simple bowl that the chicks cannot tip over. Same for water.


Free Chicken Selection Guide


At around 6 weeks of age they can move onto a pullet ration that has a slightly lower protein content until they are around 22 weeks of age or until they begin laying eggs.

With housing, warmth, food and water under control we need to think about some other practical issues.

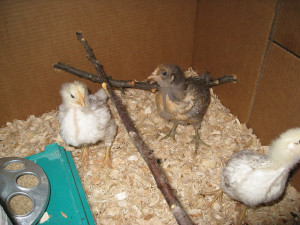
At about 4 weeks of age you can introduce a low perch so the chicks can start to practice roosting.

Some chicks will also start to want to practice having dirt baths (a critical skill for managing parasites) so if you have space introduce a tray of dirt or sand and watch the chicks having fun.

Perch installed in simple chicken brooder

Cleanliness is important to keep you chicks healthy so make sure you do regular housekeeping. Change their bedding regularly (at least daily) and make sure they always have clean food and water.

Last but not least, enjoy the experience and delight in watching your chicks grow. They grow very fast so enjoy it while it lasts because in no time you will be feeling that empty nest syndrome – but hey, to overcome the grief of your chicks growing up at least you have fresh eggs to look forward to (around week 22 for most breeds).

Share Button