Hatching chicken eggs using artificial incubators is both an art and a science. Whilst it is not difficult incubating chicken eggs there are a number of key principles that you need to adhere to.
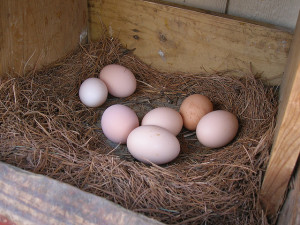
The first thing you need to do is to source quality fertilized eggs for hatching your own backyard chickens.
Good quality eggs require that the hens are in good health, have a well balanced diet and managed so that each hen is regularly serviced by a fertile rooster. The eggs should be clean fresh eggs that ideally have not been washed – washing can dramatically reduce the eggs viability be removing its protective bloom creating the potential for germs to infect the egg.
Source your eggs from a reputable breeder who keeps the nest boxes clean and filled with fresh dry bedding to prevent soiled eggs, collects eggs frequently, and stores them correctly.
For the best results in hatching chicken eggs the eggs should have been stored at room temperature with their pointy end down, rotated daily, and ideally should be less than 7 days old.
If possible your should pickup up eggs directly from the farm gate, however if you get them through the mail you should keep them still for 12-24 hours to allow the air cells to settle prior to placing them in an incubator.
As temperature is the single most important factor for successful hatching you should try and locate your chicken egg incubator in a room that has a relatively steady temperature, not in direct sunlight and away from draughts.

Turn on your chicken egg incubator and allow it to run for at least 24 hours to make sure the temperature inside the incubator has stabilized.
Set your eggs up in the chicken egg incubator on their sides or pointy end down in accordance with the incubator manufacturers instructions.
(Quick note on hatching rates – no matter how good your chicken egg incubator you can never fully replace a brooding hen and hence some eggs simply won’t hatch. The best rate you can expect is about 85%. If you are using eggs that have been posted to you then the hatching rate can be much lower around the 50% mark.)
Incubating chicken eggs will take 21 days after whichever time you will have a bunch of hungry chicks to feed.
Successful hatching using an chicken egg incubator requires four key factors:
1. Temperature
2. Humidity
3. Ventilation
4. Turning
Temperature
Every chicken egg incubator model will have its own settings for temperature however it is a good idea to get an incubator thermometer rather than rely on the incubators factory thermometer. If your eggs fail to hatch then temperature is the most likely cause. As a guide your eggs are unlikely to survive several hours of temperatures above 103degF or under 96degF.
Humidity
Humidity within the chicken egg incubator affects how much moisture is lost from the eggs during incubation. Fortunately most incubators create their own humidity through the use of water trays. (Tip – always use Luke warm water when you refill these water trays). The ideal humidity for hatching your backyard chickens is around 50-55% for the first 18 days and 65-70% in the final three days before hatching.
Ventilation
The embryos inside the eggs need oxygen which they get via their shell from the air around them. Therefore ensuring your incubator maintains good ventilation is important.
Turning
To be successful at incubating chicken eggs and hatching the chicken eggs, the eggs must be turned regularly for the first 17 days to prevent the embryos sticking to the shell. Ideally they should be turned 2-3 times per day. (Tip – mark the shells with a pencil with an A and a B on opposite sides so you can easily see if you turned all the eggs.)
You stop turning the eggs in the last 3 days of incubation.
Hatching your backyard chicken eggs
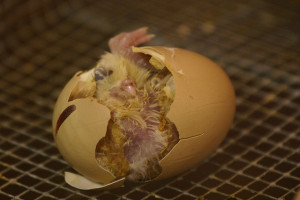
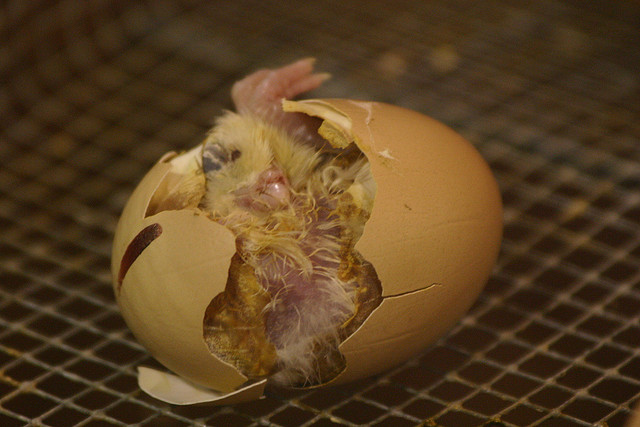
Soon the chicks will begin pipping – this is when they begin to peck through their shell. This can take up to 6 hours with a further 6 hours for the chicks to dry and “fluff up”. Since they still have the reserves for the egg yolk to draw upon the chicks don’t need to eat or drink for the first 24 hours.
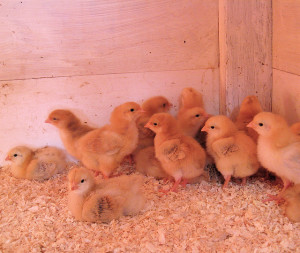
Once they are dry they can be moved to a brooder. Check out our post on raising chicks to see what to do next.


